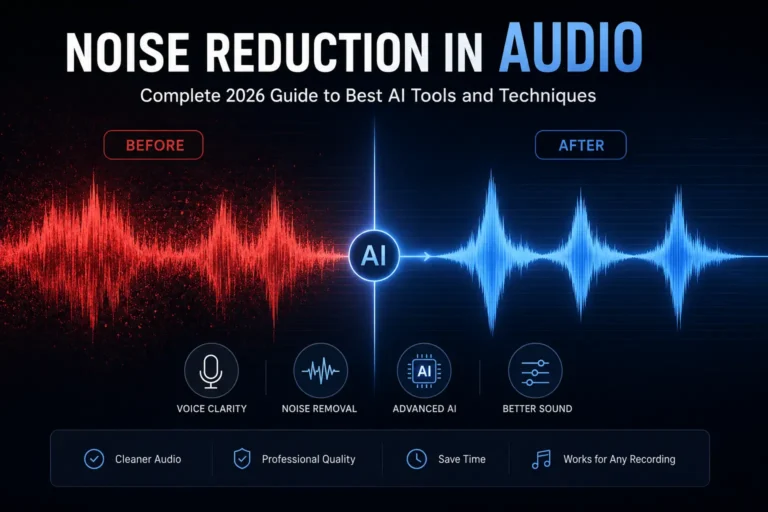
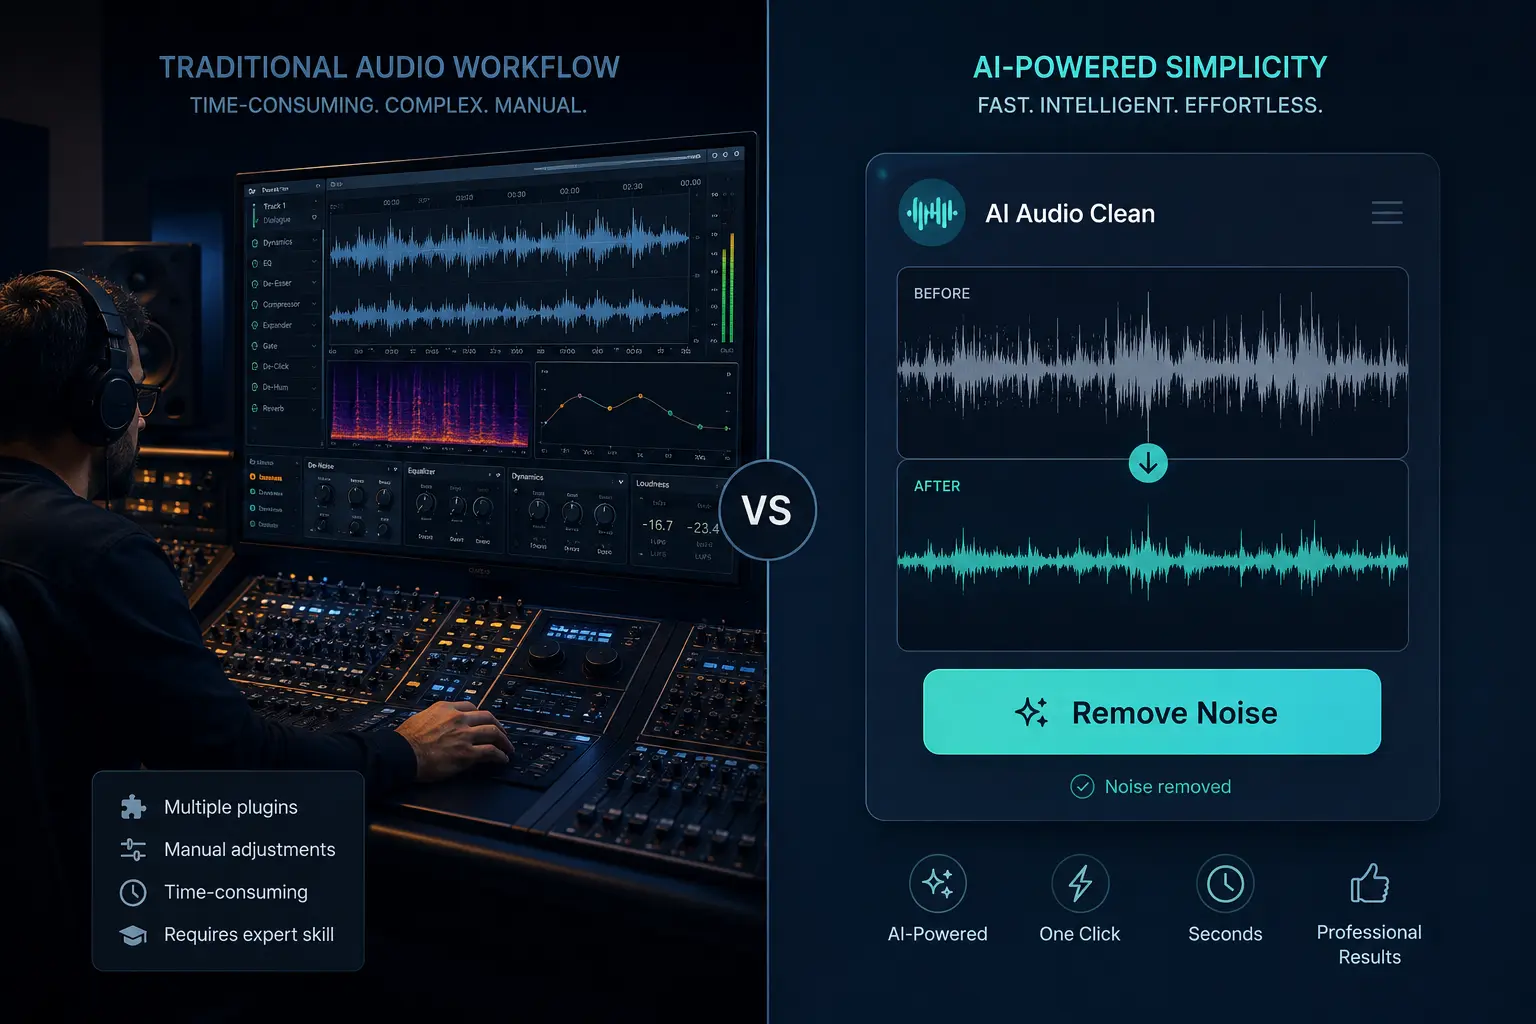
Manual vs. AI Noise Removal – Which One Actually Works?
You just recorded your podcast’s best episode. The guest was on fire, the flow was smooth. Then playback reveals your fridge decided to sing bass the whole time. Or maybe traffic outside your window sounded like a construction site. Now you’re stuck cleaning it up.
Sometimes that means spending hours scrubbing every little click and hum by hand, and sometimes you just push the denoise button and pray it doesn’t wreck your audio. I have tried both, and honestly speaking, it’s not as simple as the software ads want you to believe. Whether you’re editing a podcast, cleaning up a video voiceover, or fixing a home recording, the choice between manual and AI audio cleanup comes down to your noise floor, your deadline, and how much you’re willing to sacrifice in audio quality.
Manual Editing is Control with Pain
When people talk about manual editing they usually mean working with tools like iZotope RX, Audacity, or Adobe Audition. Here you spend most of the time zooming into waveforms, removing hums, and fixing clicks one by one. It’s time-consuming, slow and frustrating, but you have full control. You decide what is noise and what’s not on your own. That’s why a lot of audio folks still trust this method even though it can eat entire nights.
Manual tools shine when you’re dealing with intermittent noise — a dog bark mid-sentence, a chair scrape, or a cough. These are sounds that AI background noise reduction struggles with because they don’t follow a predictable pattern. When you need surgical precision, spectral repair tools in iZotope RX or Audition let you literally paint over unwanted audio artifacts without touching the voice around them.
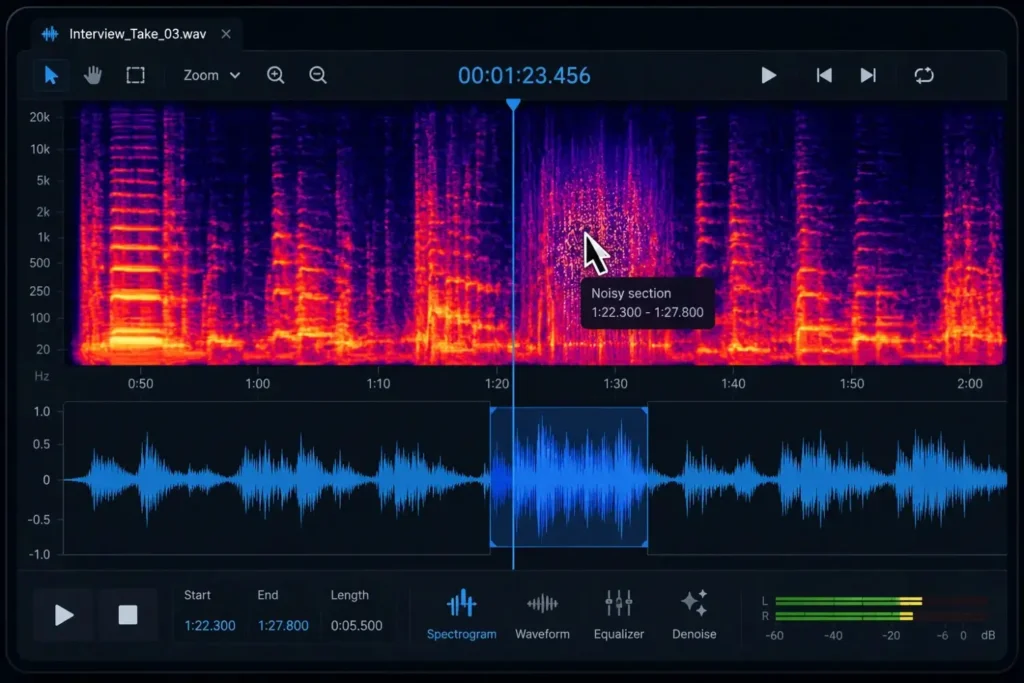
How it feels in practice
You’re staring at a colorful sound map, trying to spot the hum hiding in the middle of your guest’s big line. You “teach” the software what counts as noise, then carefully remove it. De-clickers handle mouth pops. EQ handles nasty hums. Every move is trial and error. You tweak a slider, listen back, hate the result, undo, and try again. At 2 a.m., you can’t tell if the faint buzz is in the recording or just in your head.
Why beginners give up
The overwhelm hits quick. iZotope alone has dozens of modules, and you don’t know which one to touch first. Make one wrong move and suddenly your guest sounds like they’re underwater. I know people who’ve spent six hours cleaning a one-hour interview only to realize it still sounds weird.
Pricing reality check
Pro tools like iZotope RX aren’t cheap—you’re looking at $300–$800 depending on the version. Adobe Audition comes in on subscription at about $20 a month, and even Audacity (which is free) can cost you hours of trial-and-error if you’re not experienced. The upside is you get serious control and flexibility. The downside is You’ll need a fat wallet, a lot of time, or maybe both.
AI Noise Removers: The Push-Button Option
Modern tools like Krisp, Descript, AI Noise Reducer, or Adobe Enhance claim to clear noise with one click. And to be fair, they do it—most of the time. They’re great at removing steady sounds like AC hums, fan noise, or keyboard taps. AI tools are also purpose-built for real-time noise suppression, which makes them the go-to choice for live calls, streaming, and remote recording sessions where you can’t go back and fix things manually. They process your audio on the fly, stripping out consistent background hum before it ever hits the recording.
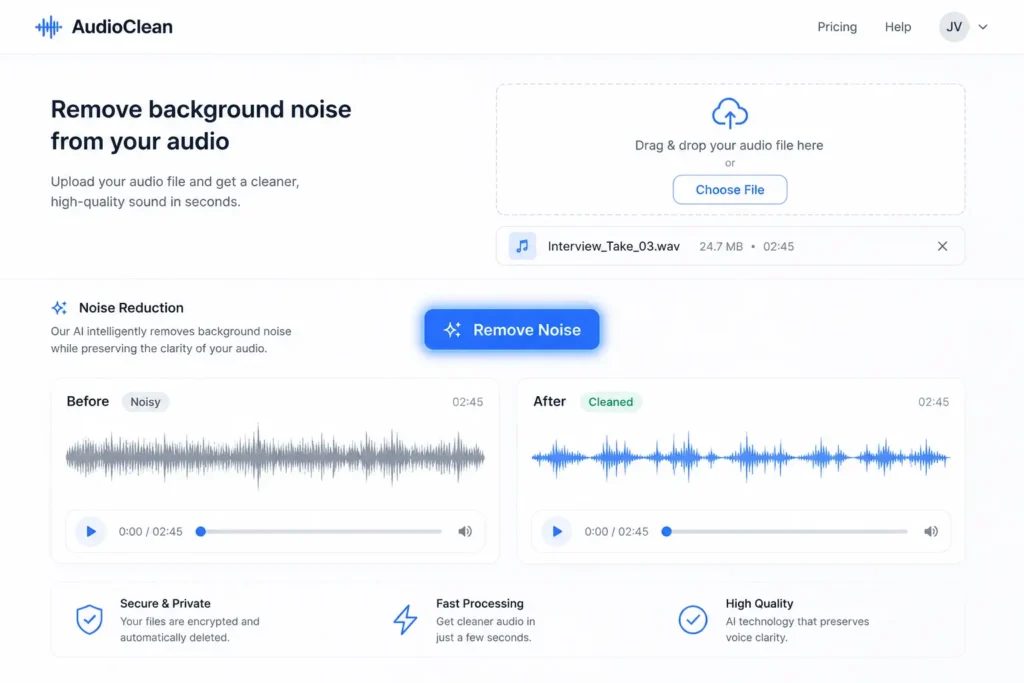
How they actually work
These tools are built on deep learning models trained on hours and hours of voices mixed with noise. Under the hood, it’s stuff like CNNs (which pick apart frequencies like eyes spotting shapes), RNNs (which follow the flow of your speech so words don’t get chopped mid-sentence), and even GANs (two AI models basically competing with each other—one makes guesses, the other calls out mistakes until the output sounds human). You don’t see any of that as a user; you just click “clean” and hope the AI makes the right call.
The upside is speed. A 30-minute podcast that might take you 90 minutes to clean manually can be “fixed” in two minutes. A lot of one-click tools make voices sound robotic; AI Noise Reducer is built to keep your natural tone and pitch intact, so you don’t lose that human warmth. The downside is artifacts—robot voices, weird metallic S sounds, or entire words disappearing if the tool gets confused.
Pricing reality check
Most AI-based cleaners run on subscriptions—usually $10–$30 a month. Tools like Krisp, Descript, or Adobe Podcast can clean things up fast. You don’t need a fancy mic or years of audio engineering. But if you depend on them for every single recording, you’re basically signing up for a forever subscription. Not saying don’t use them, just know what will be the consequences.
For content creators, podcasters, and YouTubers processing dozens of files a week, AI tools deliver the fastest turnaround — but the moment you hit complex noise scenarios like room reverb, overlapping voices, or wind noise from outdoor recording, the limitations show fast.
But Noise Reducer AI helps you save your time and a lot of effort by doing all of your work automatically and for free. It also offers premium plans to the users who want complete access to advanced features, unlimited usage, and the highest-quality noise reduction.
They are not magic either. I once heard an interview with a Scottish guest—every “R” he rolled got chewed up until it sounded like he was gargling gravel. Funny for a second, but the poor guy’s whole point got buried.
When to Trust Which Tool (No BS Version)
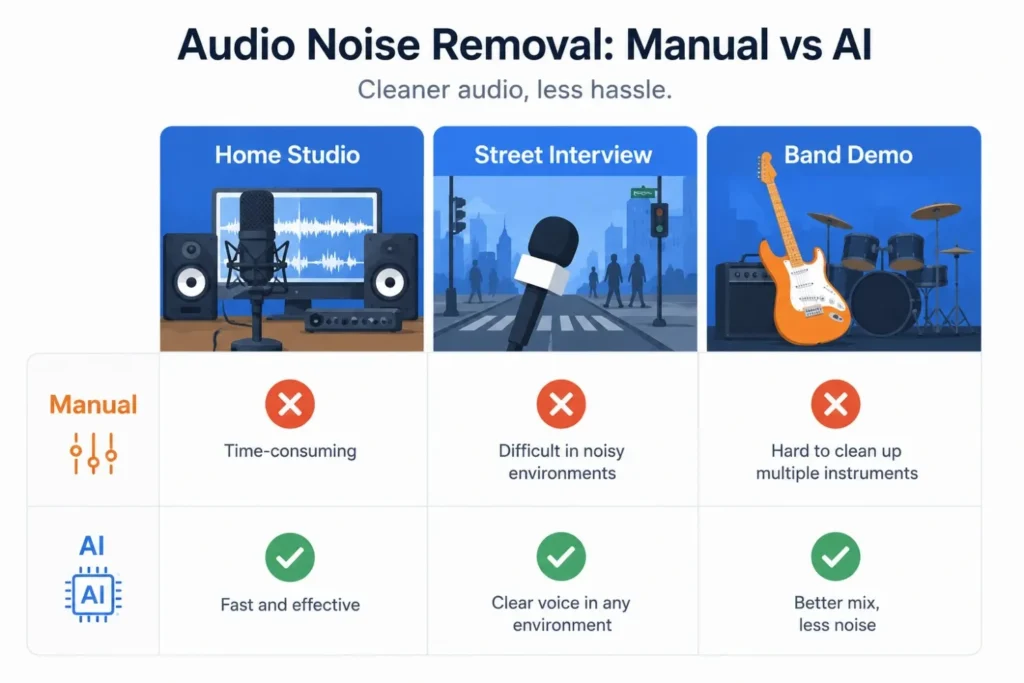
Home studio hums
That time I spent 45 minutes manually carving out AC drone? Totally worth it – kept the host’s voice warm like Sunday coffee. But last Tuesday? AI saved my deadline by nuking fridge noise during lunch so I could actually eat.
Street interviews
Manual editing rescued my buddy’s construction site recording – carefully removed jackhammers without touching his guest’s emotional story. Meanwhile, AI cleaned a live interview where sudden traffic would’ve ruined everything.
Band demos
Manual saved a local band’s demo – 4 hours preserving every guitar slide and drum breath. But for quick Instagram clips? I use AI because fans won’t notice amp hiss between dog barks.
Keeping Your Sanity Intact
| If you’re team manual | If you’re team AI |
|---|---|
| Don’t try to swallow the whole toolbox at once. Start with noise reduction + de-clicker. Small tweaks! And check edits on AirPods or car speakers – studio headphones will lie to your face. | Record louder than feels natural. Whispery audio turns into robot nightmares. Never trash originals – AI has no “undo” when it glitches. |
| It’s your best friend for spotting weird sounds the waveform alone hides—like faint background hums or coughs. | Each AI has its own “ear.” If Krisp chews up your consonants, try Descript or Adobe Enhance—sometimes one tool handles your recording style better. |
| Manual tweaks can go sideways quickly; versioning your edits saves you from the dreaded “underwater voice” trap. | Run the audio through AI once, not five times. Multiple passes almost always leave you with tinny, lifeless speech. |
The Real Fix (Nobody Wants to Hear)
Let AI murder obvious noise (fans, AC, keyboard clicks) while I make coffee. Then pop that half-cleaned file into manual tools to:
Think of it like this: AI noise removal handles the heavy lifting on predictable noise — fan hum, AC drone, keyboard clicks, and consistent background noise. Manual editing steps in for everything else — plosives, mouth noise, sudden loud sounds, and any audio artifacts the AI introduced. Together, they cover every real-world recording scenario better than either tool alone. No tool saves recordings made in wind tunnels or beside blenders. That brilliant take beside the highway? Gone forever.
What actually works
That $15 foam mic sock rolling under your desk
Wrapping it up
Manual editing gives you control, but it’ll eat your time. Auto tools are fast, but sometimes they mangle the details. The real win is knowing when to use each—and not expecting miracles. Clean recordings start before you ever hit record. Everything after that is just patchwork.
“Best noise removal? Not needing it. Everything else is just bandaids for life’s chaos.”
— Every audio engineer after their 100th “perfect take” ruined
Noise Reducer AI is an AI-powered audio enhancement platform designed to remove background noise, improve voice clarity, and enhance sound quality. Built for creators, professionals, and everyday users, it offers a fast, free, and easy way to clean audio without technical complexity.
Frequently Asked Questions
Check out these frequently asked questions to find quick answers and helpful tips!