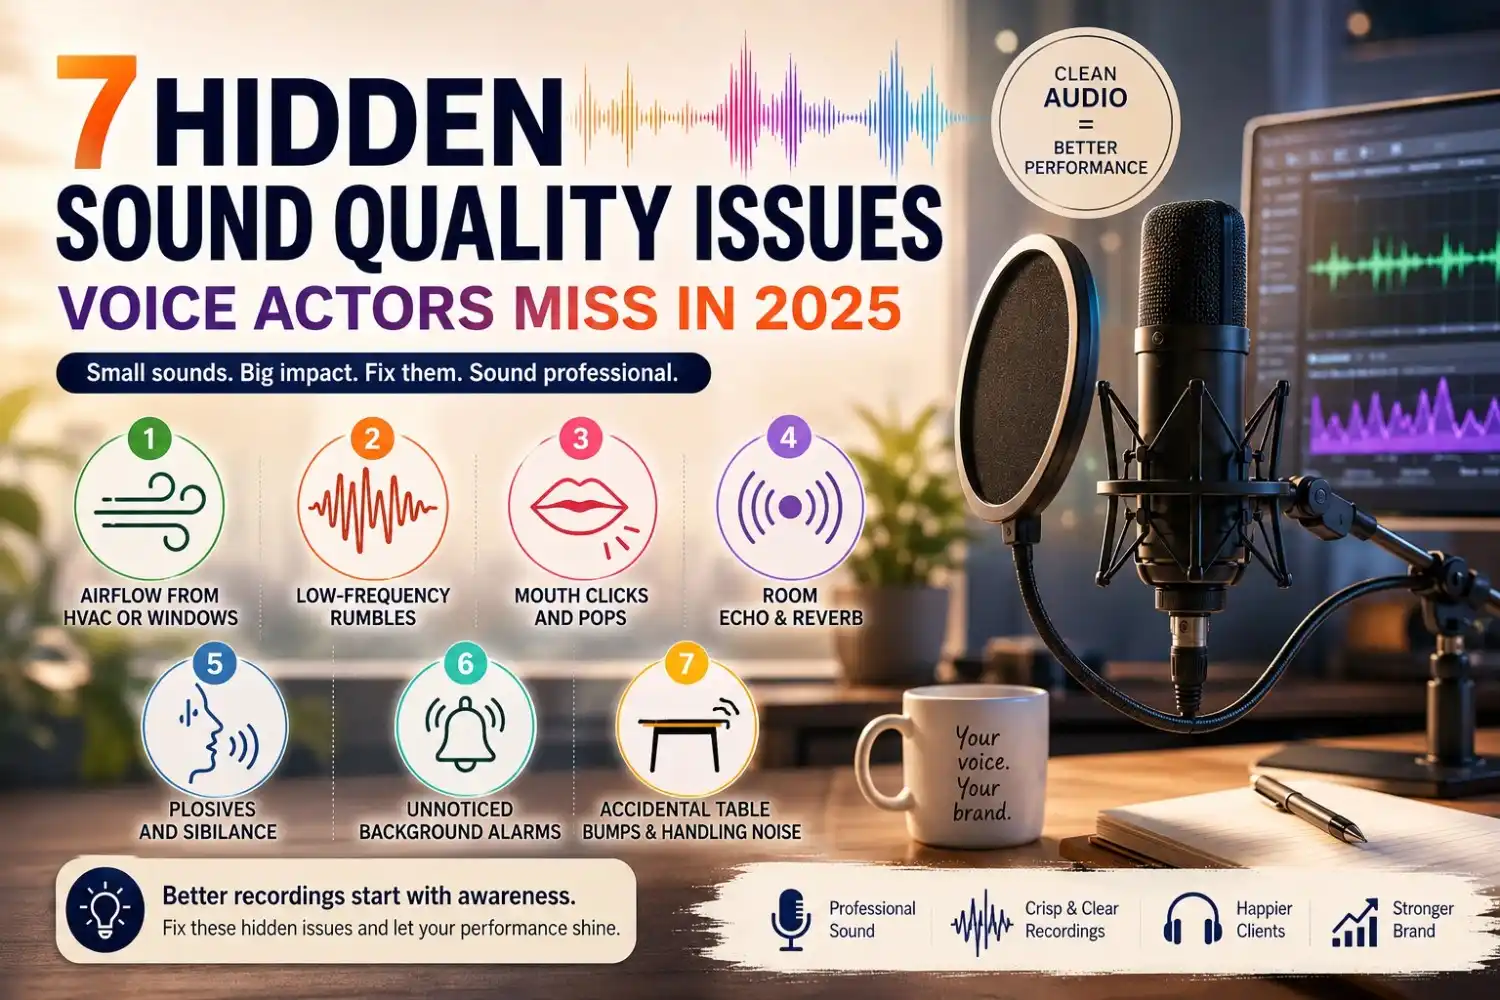
7 Hidden Sound Quality Issues Voice Actors Miss (2026 Guide)
Sound quality issues voice actors miss can silently destroy an otherwise perfect recording. Professional microphones are extraordinarily sensitive — they capture low-level whooshing, rumbling, and clicking sounds your ears have long learned to ignore. And unlike obvious problems, these hidden audio issues often go undetected until you’re deep in post-production, costing you time, money, and client trust.
Your recording quality depends on far more than expensive gear. Your environment, microphone positioning, and post-production workflow all play equal roles — and each one hides its own set of traps. In this guide, we break down the 7 most common hidden sound quality issues voice actors encounter in 2026, how to detect each one, and exactly how to fix them.
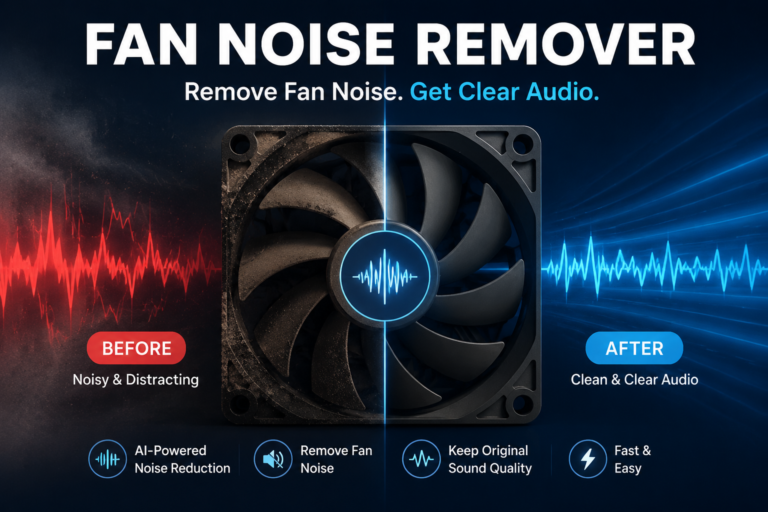
Airflow from HVAC or Windows
After creating your recording space, you might notice background noises during recordings that were previously undetectable to your ears. HVAC systems, open windows, and ventilation systems create subtle airflow noises that sensitive microphones easily capture. These seemingly insignificant sounds can significantly damage your voice acting recordings. Furthermore, detecting these issues before they ruin a session requires understanding both their sources and solutions.
Airflow source
The primary culprits behind airflow noise include:
Modern HVAC systems generate noise primarily through the movement of air. Additionally, when air is forced through small openings or makes sharp turns in ductwork, it creates that that microphones detect easily. Vibrations from air handlers can also travel through rigid duct connections, creating low-level hums throughout your recording space.
How to detect airflow noise
Spotting airflow issues requires careful listening and monitoring:
- Record a 30-second sample of “silence” in your space
- Listen with good headphones at higher volume
- Look for consistent background noise in your audio waveform
- Pay attention to changes when HVAC cycles on/off
Most voice actors miss these issues because our brains naturally filter out constant background noises that microphones faithfully capture.
Fixing Airflow Noise
Temporary improvements:
Permanent improvements:
Low-Frequency Rumbles
Low-frequency rumbles lurk in the background of many voice recordings, often completely unnoticed until the final edit. These deep bass noises between [20-200 Hz] can compromise sound quality even in well-treated studios. Moreover, unlike airflow noise, these rumbles pass straight through most acoustic treatments, making them particularly troublesome for voice actors working from home studios.
Low-frequency Rumbles Source
The primary sources of low-frequency rumbles include:
These sound waves have extremely long wavelengths – a single 20 Hz wave cycle stretches approximately 56 feet. This property enables them to penetrate walls and travel vast distances with minimal energy loss. Ironically, the better your microphone, the more likely it will capture these otherwise inaudible sounds.
How to detect low-frequency rumbles
Identifying these issues requires:
- Using a spectrum analyzer to examine frequencies below 80 Hz
- Recording “silence” in your space and analyzing the waveform
- Measuring at different times (particularly 02:00-04:00) to identify patterns
- Comparing recordings with specific rumble-causing systems on and off
- Use our online tool that is absolutely free for normal use and offers premium plans as well
For precise measurement, dedicated apps like Vibration Pro can detect vibrations using your smartphone’s built-in accelerometers.
Fixing Low-frequency Rumbles
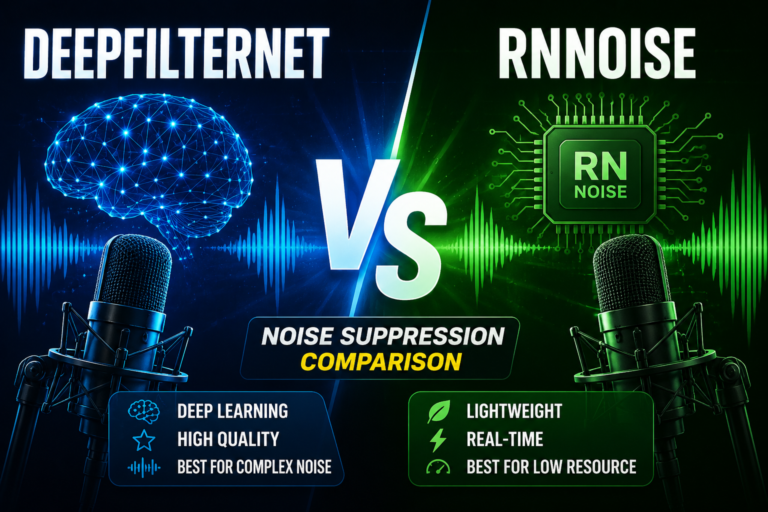
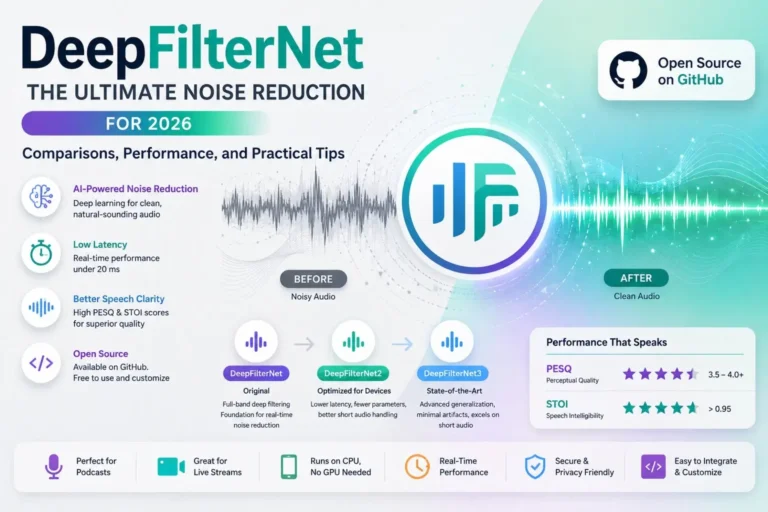
For persistent issues, vibration isolation platforms can prevent structure-borne transmission from floors to microphone stands. Tools like RNNoise or DeepFilterNet handle these automatically.
Mouth Clicks and Pops
Those strange clicking sounds in your recordings aren’t equipment failures—they’re coming from your own mouth. Unlike external noise sources, mouth clicks are involuntary sounds produced when your tongue, teeth, and saliva interact during speech. These tiny disruptions appear as distracting clicks and pops that sensitive microphones magnify dramatically. Primarily, they occur as tiny bubbles of saliva pop between surfaces in your mouth or when saliva creates sticky contact points.
Mouth Noise Source
Mouth clicks originate from several physiological factors:
These clicks often form in specific locations—usually behind molars or beneath the tongue where saliva pools. Essentially, any place where saliva gets sandwiched between flesh can produce these distracting pops.
How to detect mouth clicks
Spotting airflow issues requires careful listening and monitoring:
- Listening with quality headphones at higher volumes
- Examining waveforms for tiny spikes or anomalies
- Looking for characteristic patterns in spectral view
- Using specialized software tools that highlight mouth noise
Fixing Mouth Clicks
For post-production fixes, specialized tools like iZotope RX Mouth De-click or standard DAW declicker plugins can effectively remove remaining clicks. Alternatively, use the repair or pencil tools to manually fix isolated clicks.
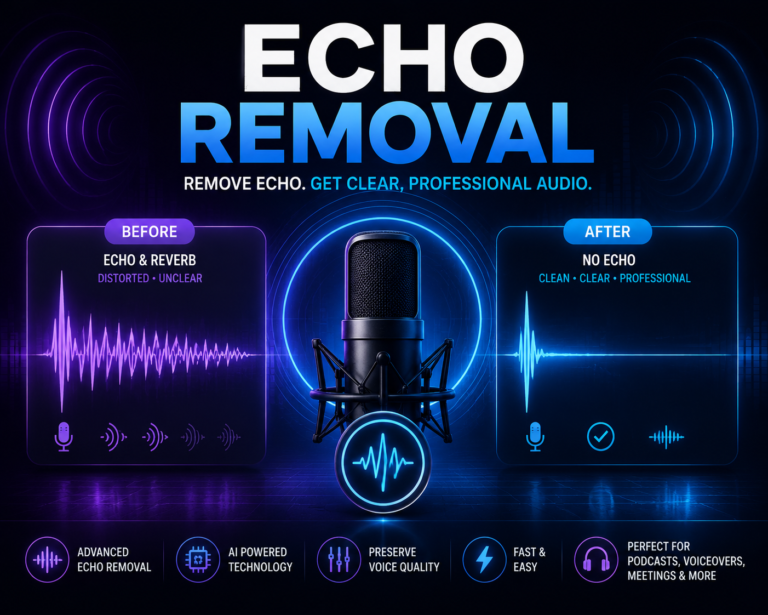
Room Echo and Reverb
Even carefully designed home studios often suffer from an acoustic enemy that ruins voice recordings: room echo. Unwanted echo can destroy the most meticulously planned audio recording, creating persistent sound reflections that diminish your message and frustrate listeners. This common issue occurs in spaces with hard surfaces where sound waves bounce freely. Primarily affecting clarity and professionalism, room echo requires specific techniques to detect and eliminate.
Echo Source
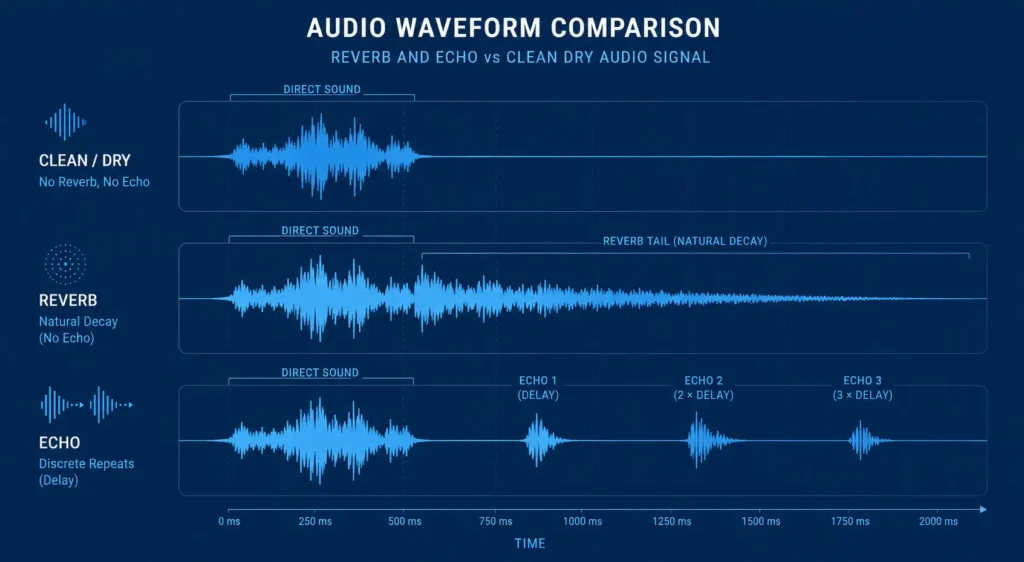
Echo occurs when sound waves bounce off hard surfaces and return to the microphone at different times than the original sound. This phenomenon happens in two distinct forms:
Most recording problems involve both issues simultaneously. Your recording environment’s size, shape, and material surfaces all contribute to the specific character of unwanted reflections in your audio. Hard floors, glass windows, and parallel walls certainly create the perfect conditions for problematic echo.
How to detect room echo
- Recording a sample in your space and listening with quality headphones
- Clapping once in your recording space and listening for lingering sound (the “reverb tail”)
- Examining recordings for a “boxy” or hollow sound quality
- Looking for concentrated reflections in the 200-800 Hz range
Fixing Room Echo
For persistent problems, post-processing tools like DeReverb effects can help, but they should be applied subtly to maintain a natural sound.
Plosives and Sibilance
Two tiny vocal issues create major headaches for voice actors: plosives and sibilance. These pesky sound problems occur naturally during speech yet become magnified by sensitive microphones. Plosives are those explosive “mini sonic booms” that happen with ‘p’, ‘b’, and ‘t’ sounds, while sibilance refers to harsh hissing when pronouncing ‘s’ and ‘z’ sounds. Both issues can instantly transform professional-sounding recordings into amateurish efforts.
Plosive/Sibilance Source
Plosives occur when a blocked airstream suddenly releases from your vocal tract, creating percussive blasts of air. Common culprits include:
Sibilance happens when air passes through teeth during certain consonant pronunciation, directing straight at the microphone.
How to detect plosives
- Examining waveforms for sudden spikes or “blobs”
- Listening for characteristic low-frequency thumps
- Testing microphone positions to identify problem sounds
Fixing Plosives and Sibilance
For post-production:
Unnoticed Background Alarms
Background alarms from devices we barely notice can ruin otherwise perfect voice recordings. These subtle electronic intrusions often go undetected during recording sessions yet become glaringly obvious during playback. Many voice actors discover these interruptions only after completing lengthy sessions, requiring costly re-recordings. Hence, understanding these common audio contaminants helps prevent frustrating surprises in your final product.
Alarm Sound source
As a result, these alarms share distinctive characteristics like narrowband fixed frequencies, and amplitude modulation in the 4–30 Hz range.
How to detect alarm sounds
Identifying alarm intrusions requires:
- Recording sample “silence” in your space with all devices present
- Listening with quality headphones at increased volume
- Watching for amplitude modulation patterns in audio waveforms
- Using specialized audio detection algorithms that identify periodic patterns
Fixing Alarm Interruptions
Accidental Table Bumps and Handling Noise
Those subtle vibrations from accidentally bumping your recording table can ruin an otherwise perfect take. Most voice actors focus on controlling airflow or background noise but overlook physical contact with recording surfaces. Unfortunately, vibrations travel efficiently through solid materials directly into microphone stands and diaphragms.
Handling Noise Source
Handling noise typically originates from:
These vibrations travel efficiently through solid materials, creating loud thumps in recordings that outweigh their seemingly minor physical impact.
How to detect handling noise
Spotting airflow issues requires careful listening and monitoring:
- Examining waveforms for sudden low-frequency spikes
- Using headphones to listen for distinctive thumps
- Testing by gently tapping surfaces near your setup
Most voice actors miss these issues because our brains naturally filter out constant background noises that microphones faithfully capture.
Fixing Handling Noise
Comparison Table
Professional voice actors face numerous hidden sound quality challenges that can compromise their recordings. These issues range from environmental factors to technical problems and physiological sounds. Modern microphones are incredibly sensitive and can pick up subtle noises that human ears might miss. Understanding and addressing these common sound quality issues is crucial for producing professional-grade voice recordings.
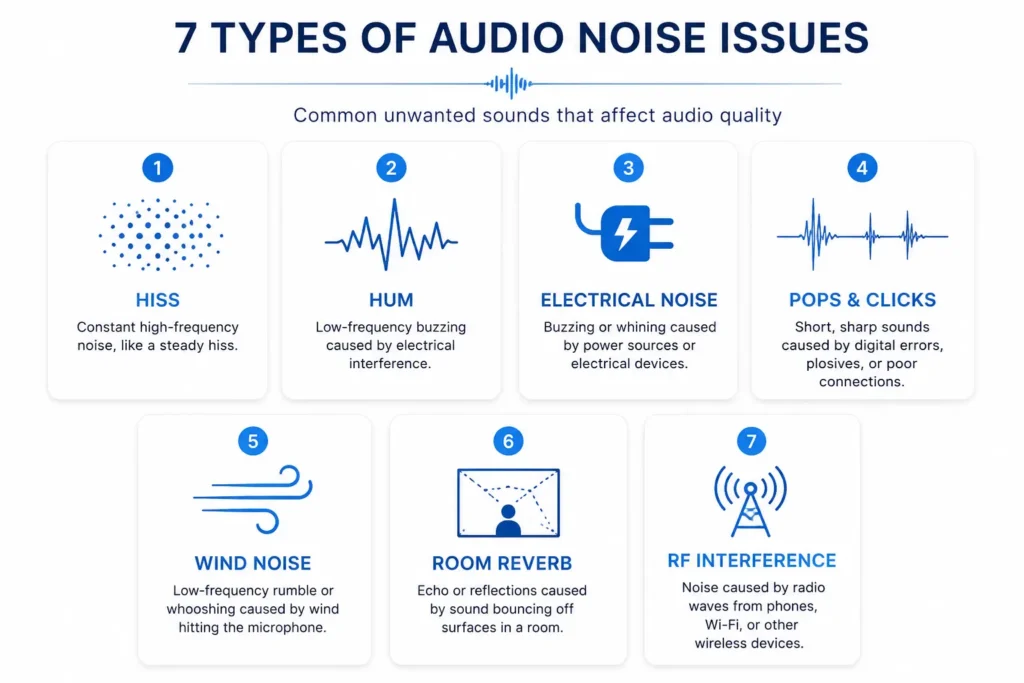
Sound Issue | Main Sources | Impact on Recording | Detection Method | Primary Solutions |
|---|---|---|---|---|
Airflow from HVAC/Windows | HVAC systems, open windows, computer fans | Reduces clarity, creates constant background “floor” | Record 30-second silence sample, listen with headphones | Turn off HVAC during recording, install flexible ductwork |
Low-Frequency Rumbles | Building mechanics, traffic, boilers (20-80 Hz) | Creates muddy recordings, lacks clarity | Use spectrum analyzer below 80 Hz | Apply high-pass filtering (30-40 Hz), install bass traps |
Mouth Clicks and Pops | Dehydration, excessive saliva, mouth anatomy | Creates distracting pops, sounds unprofessional | Listen with headphones, examine waveforms | Stay hydrated, position mic off-axis |
Room Echo/Reverb | Hard surfaces, parallel walls, room shape | Makes recordings sound amateur, reduces clarity | Clap test, listen for reverb tail | Use acoustic treatment, record in smaller spaces |
Plosives/Sibilance | P/B/T sounds (plosives), S/Z sounds (sibilance) | Creates distortion, harsh sounds | Look for waveform spikes | Use pop filters, position mic 45° off-axis |
Background Alarms | Electronic devices, security systems, appliances | Creates sudden interruptions | Record silence sample, listen at high volume | Silence all devices, create dedicated recording profiles |
Table Bumps/Handling | Physical contact with equipment, footsteps | Creates low-frequency thumps | Look for sudden waveform spikes | Use shock mounts, acoustic foam isolation |
For a deeper look at AI noise removal technology, read our complete noise reduction guide.
Noise Reducer AI is an AI-powered audio enhancement platform designed to remove background noise, improve voice clarity, and enhance sound quality. Built for creators, professionals, and everyday users, it offers a fast, free, and easy way to clean audio without technical complexity.
Frequently Asked Questions
Check out these frequently asked questions to find quick answers and helpful tips!