How to Remove Fan Noise from Audio Recordings
You listen back to the recording and there it is — that low, steady whirr sitting underneath every word you said. Your laptop fan kicked in halfway through, or your PC’s cooling system never really stopped, and now it’s baked into the take.
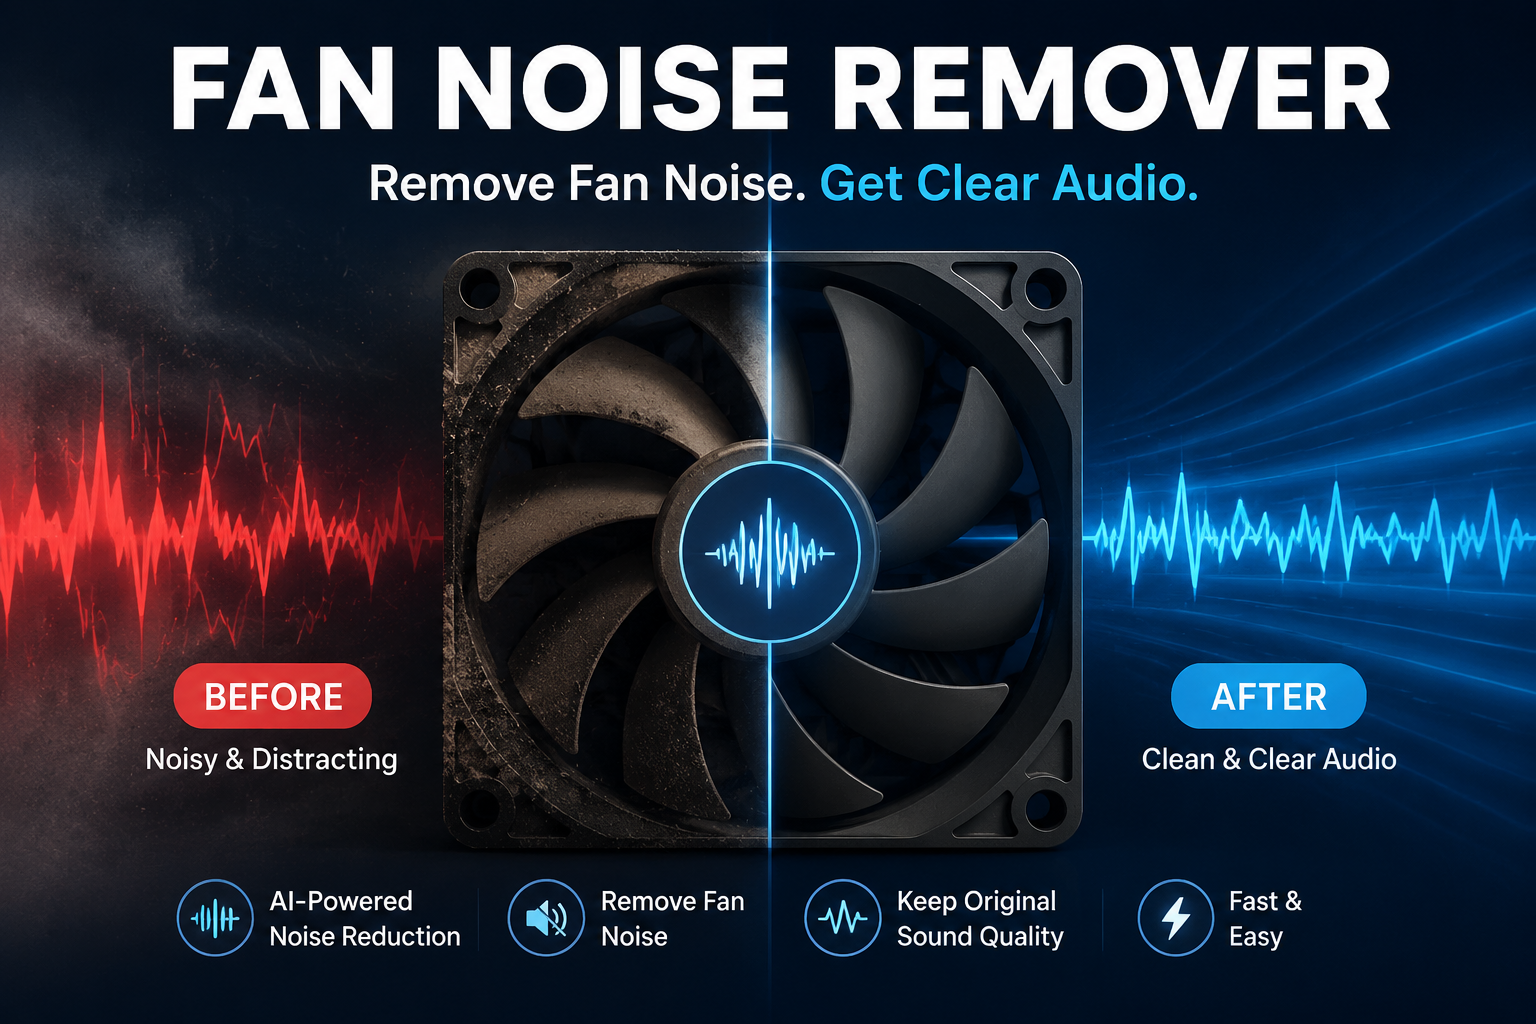
Fan noise is one of the most common problems in home recordings, and also one of the most fixable. It’s steady, predictable, and sits in a fairly narrow frequency range — which is exactly the kind of noise that both classic noise reduction and modern AI handle well.
This guide covers why fan noise happens, how to stop it before you even hit record, and — if it’s already in your file — exactly how to remove it without wrecking your voice.
What Fan Noise Actually Is
Fan noise comes from moving air and spinning blades — the cooling fan inside your laptop, desktop tower, PC case, or even a nearby room fan. It’s a mechanical sound, not an electronic one, which is part of why it’s so common in recordings made at a desk.
It generally falls into two categories:
- Low-frequency rumble — a deep, distant hum, similar to what you’d hear from a running air conditioner or a large case fan
- Mid-frequency whine — a tighter, more tonal buzz from the fan motor itself or the blades cutting through air, often more noticeable and harder to ignore
Most laptop and desktop fans sit somewhere in the 100Hz to 1kHz range, though the exact frequency depends on fan speed, blade count, and how hard your CPU or GPU is working at the time. A fan running at full speed under load produces a higher-pitched, louder sound than the same fan idling.
Why does my laptop fan get louder while I’m recording?
Recording software, especially video calls or screen recording, uses more CPU and sometimes GPU than normal typing or browsing. That extra load generates more heat, which triggers your laptop’s fan to spin faster to cool the system down — right in the middle of your take.
How to Prevent Fan Noise Before You Record
The cheapest and most effective fix is stopping the noise from being recorded at all. Cleanup software is good, but it’s still working with a problem that prevention avoids entirely.
Reduce the Load on Your Machine
Close every app you don’t need while recording — browser tabs, background updates, other software. The less work your CPU does, the less heat it generates, and the less your fan needs to spin. If you’re recording a video call or screen capture, this matters even more since those tasks are already CPU-heavy on their own.
Clean Out Dust
A laptop or desktop full of dust runs hotter, which means the fan works harder and louder to compensate. If it’s been over a year since you opened up your machine or blew out the vents with compressed air, that alone can meaningfully cut fan noise before you even touch a microphone.
Increase Distance and Use Directional Mics
Move your microphone as far from the laptop or PC tower as your cable or wireless range allows. Even a meter or two makes a real difference, since fan noise drops off with distance. A cardioid microphone — one that mainly picks up sound from the front and rejects sound from the sides and rear — also helps if you position the mic so its back is facing the noise source.
Physically Dampen the Fan
If you’re recording near a standalone fan rather than a laptop, place it on a soft surface like a folded towel to reduce vibration noise, and run it on the lowest setting that still keeps you comfortable. For laptops, a cooling pad with larger, slower-spinning fans can sometimes run quieter than the laptop’s internal fan working overtime.
Record in a Separate Room
If your setup allows it, record away from the noisy machine entirely — a long USB or XLR cable, or a wireless mic, lets you step into another room while your computer keeps running the recording software. This isn’t practical for everyone, but for anyone doing regular voiceover or podcast work, it’s worth setting up once.
Can I just turn off my laptop fan while recording?
This isn’t recommended. Disabling your fan can cause your device to overheat, which risks permanent hardware damage or an automatic shutdown mid-recording. If your laptop is overheating enough that the fan runs loudly, the better fix is reducing CPU load, cleaning out dust, or using a cooling pad — not disabling the fan itself.
How to Remove Fan Noise After You’ve Already Recorded
If the fan noise is already in your file, you don’t need to re-record. Fan noise is steady and predictable — exactly the kind of noise AI noise reduction handles best.
The Fastest Method: AI Noise Removal
Upload your file to Noise Reducer AI and let the AI handle it automatically. Unlike manual noise reduction, there’s no need to select a clean section of “noise only” audio first — the model has already learned what human speech sounds like and separates everything else, including fan hum, from around it.
- Upload your audio or video file — MP3, WAV, MP4, MOV, and other common formats all work
- Set the denoise strength. For steady fan noise, 70–85% typically clears it completely without affecting your voice
- Preview a short section. The fan hum should be gone, with your voice sounding natural and unprocessed
- Download the cleaned file
The whole process takes under a minute. Because fan noise is one of the most predictable and steady noise types that exists, it’s also one of the noise types AI tools handle most reliably — you’re unlikely to hear any leftover trace once processed.
The Manual Method — Noise Profile Removal
If you’d rather have full manual control, or you’re already working in an editor like Audacity, this is the traditional way to remove steady noise like fan hum.
- Find a short section of your recording — 1 to 2 seconds — that contains only the fan noise and no speech. A pause before you started talking works well for this
- Select that section and use your editor’s noise reduction tool to capture a “noise profile” from it. This teaches the software what the fan noise’s frequency pattern looks like
- Select the entire recording, then apply the noise reduction using that captured profile
- Start with a moderate reduction — around 20–40% strength. Too aggressive a setting can make your voice sound thin or hollow
- Enable frequency smoothing if your editor has the option — this helps avoid a warbly, artificial texture in the processed audio
- Listen back and adjust. If fan noise is still audible, increase the reduction slightly. If your voice sounds distorted, reduce it
This method works well specifically because fan noise is static and unchanging — the profile-based approach is built for exactly this kind of steady, predictable sound. It struggles far more with noise that changes over time, like traffic or people talking in the background.
AI vs Manual Noise Reduction — Which to Use
| Factor | AI Noise Removal | Manual (Noise Profile) |
|---|---|---|
| Setup required | None — just upload | Need a clean noise sample first |
| Time needed | Under 60 seconds | 5–10 minutes, more with fine-tuning |
| Skill required | None | Moderate — some trial and error |
| Result on steady fan noise | Excellent | Very good |
| Result if fan speed changes mid-recording | Good — adapts automatically | Weak — profile becomes inaccurate |
| Manual control over settings | Limited to a strength slider | Full control over every parameter |
| Cost | Free for most recordings | Free (Audacity is open source) |
For most people, AI noise removal is the better starting point — it’s faster, requires no technical knowledge, and handles steady fan noise reliably. Manual noise profiling is worth learning if you’re already comfortable in an audio editor and want granular control, or if your fan speed changes noticeably throughout the recording, since you can re-profile at different points in the timeline.
Who Runs Into Fan Noise Most Often
Remote Workers and Zoom Callers
Video calls push your laptop’s CPU and GPU harder than almost anything else you do day to day — video encoding, screen sharing, and the call software itself all run at once. That’s often exactly when the fan spins up and starts showing up in recorded meetings.
Podcasters Recording at a Desk
A desktop tower or gaming laptop sitting near your microphone is one of the most common fan noise sources in home podcast setups. If you’re recording directly into your computer with a USB mic sitting inches from the machine, some fan bleed is almost unavoidable without addressing distance or airflow.
Screen Recorders and Tutorial Creators
Recording your screen while narrating uses meaningful CPU resources, especially at higher resolutions or frame rates. Combine that with talking into a mic positioned close to the same machine doing the recording, and fan noise becomes a frequent, predictable problem.
Students Recording Lectures or Study Sessions
Laptops used for both note-taking and audio recording during long study sessions or online classes tend to warm up and spin their fans up over time — meaning a recording that started clean can pick up fan noise 20 minutes in as the machine heats up.
Gamers and Streamers
Gaming pushes hardware harder than almost any other task, which means case and GPU fans running at higher speeds than normal — right during the exact moment you’re commentating or recording voiceover for a stream or highlight reel.
Common Mistakes When Removing Fan Noise
Over-Reducing the Noise
Pushing noise reduction to maximum strength to eliminate every last trace of fan hum almost always damages your voice in the process — creating a thin, robotic, or underwater quality. A small amount of barely audible residual noise usually sounds far more natural than an over-processed voice.
Selecting Speech in the Noise Profile
If you’re using the manual method and accidentally include even a fraction of a second of speech in your “noise only” sample, the profile gets confused and the reduction becomes far less accurate. Always pick a section that’s genuinely silent except for the fan.
Ignoring Prevention Entirely
Cleanup tools are good, but they’re not magic. Recordings with heavy fan noise from the start always sound better after cleanup than recordings with light fan noise from the start. Spending five minutes on prevention — closing background apps, moving the mic, running a cooling pad — pays off more than any post-processing setting.
Not Checking for Changing Fan Speed
If your fan sped up partway through a long recording — common in lectures, long podcast interviews, or extended screen recordings — a single noise profile captured at the start won’t match the noise later in the file. AI tools handle this better since they adapt continuously rather than relying on one fixed profile.
Fan Noise vs Other Common Background Noise
Fan noise often shows up alongside other common recording problems. If you’re dealing with more than just fan hum, here’s how it compares:
| Noise Type | Frequency Range | Difficulty to Remove |
|---|---|---|
| Fan noise (laptop/PC) | 100Hz – 1kHz | Easy — steady and predictable |
| AC / HVAC hum | 50–200Hz (plus harmonics) | Easy — steady and predictable |
| Keyboard clicks | Broadband, short transients | Moderate — sudden, not continuous |
| Traffic / street noise | Broadband, variable | Harder — constantly changing |
| Background music | Full spectrum, complex | Harder — overlaps with speech frequencies |
Fan noise sits comfortably among the easiest noise types to remove — right alongside AC hum — because both are steady, narrow-band, and don’t change unpredictably the way traffic or crowd noise does. If your recording has fan noise mixed with something harder like street sound, a single AI pass usually handles both categories at once rather than needing separate treatment for each.
Frequently Asked Questions
Common questions about removing fan noise from recordings.